
How to use eDriver
The how-to guides show every task in the eDriver mobile app step by step, with screenshots and a short video: how to start and finish a trip, add a stop, confirm a draft, attach a receipt with its expense, export travel orders for the accountant, and manage vehicles and saved addresses. The steps are the same on iPhone and Android.
1 · 4 steps
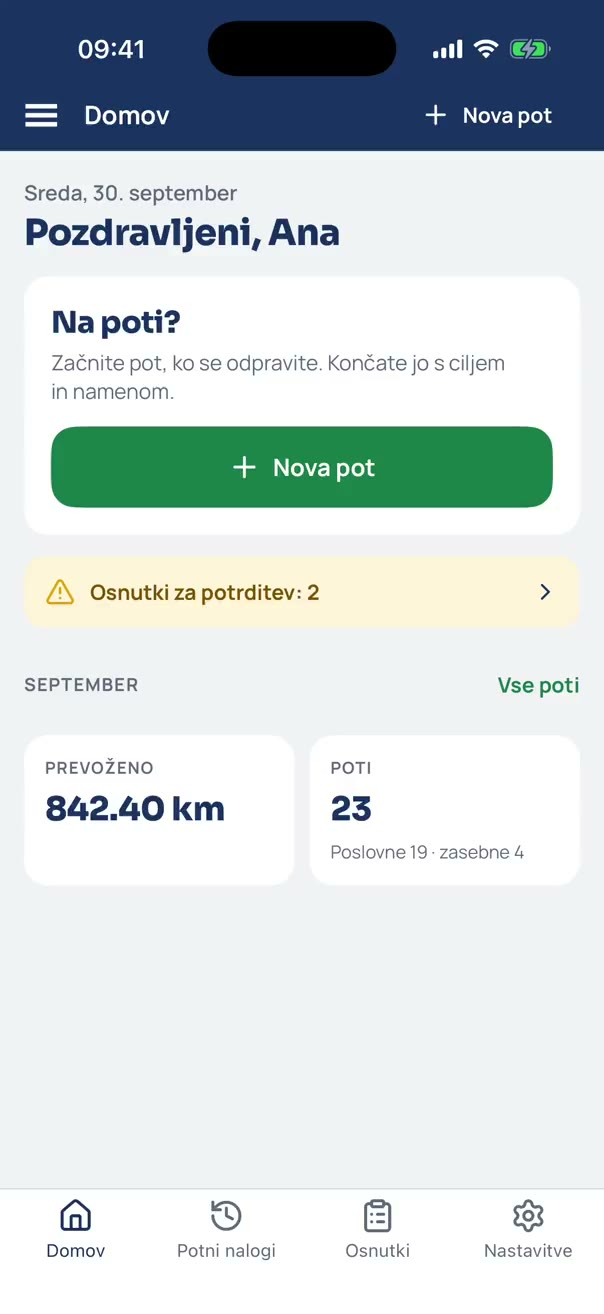
How to start a trip
Starting a trip by hand in the eDriver app: vehicle, odometer, trip type and the start address – in four steps.
2 · 5 steps
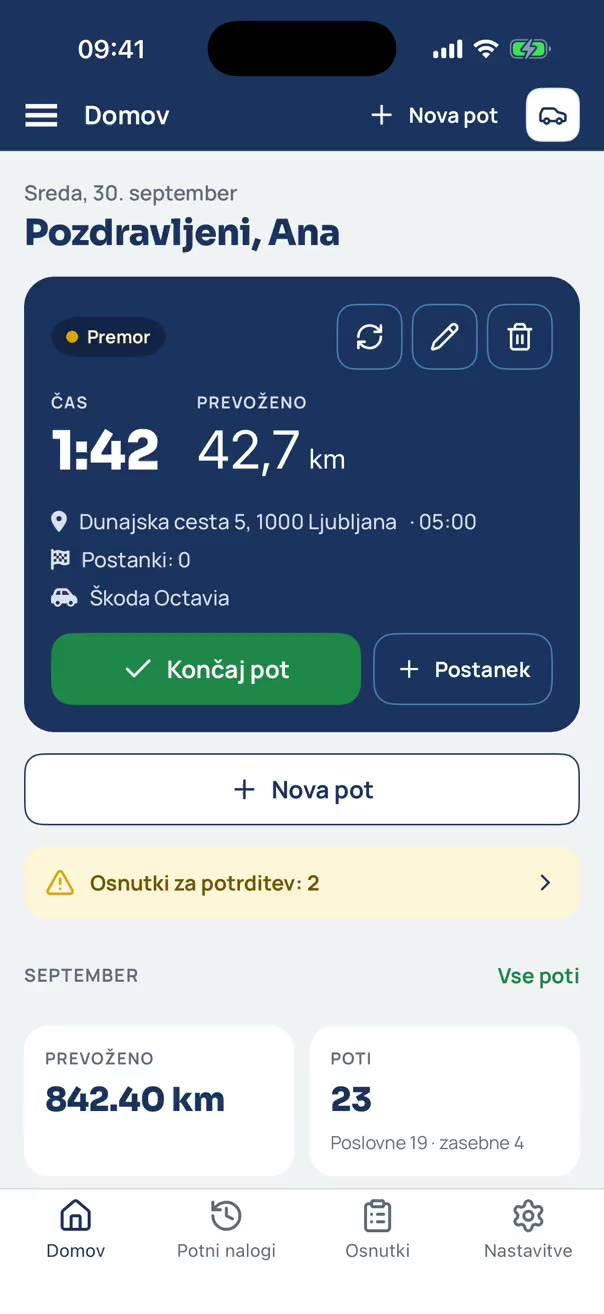
How to finish a trip
Finishing a trip in eDriver: destination, distance check, the summary with the purpose, and saving it as a travel order – in five steps.
3 · 3 steps
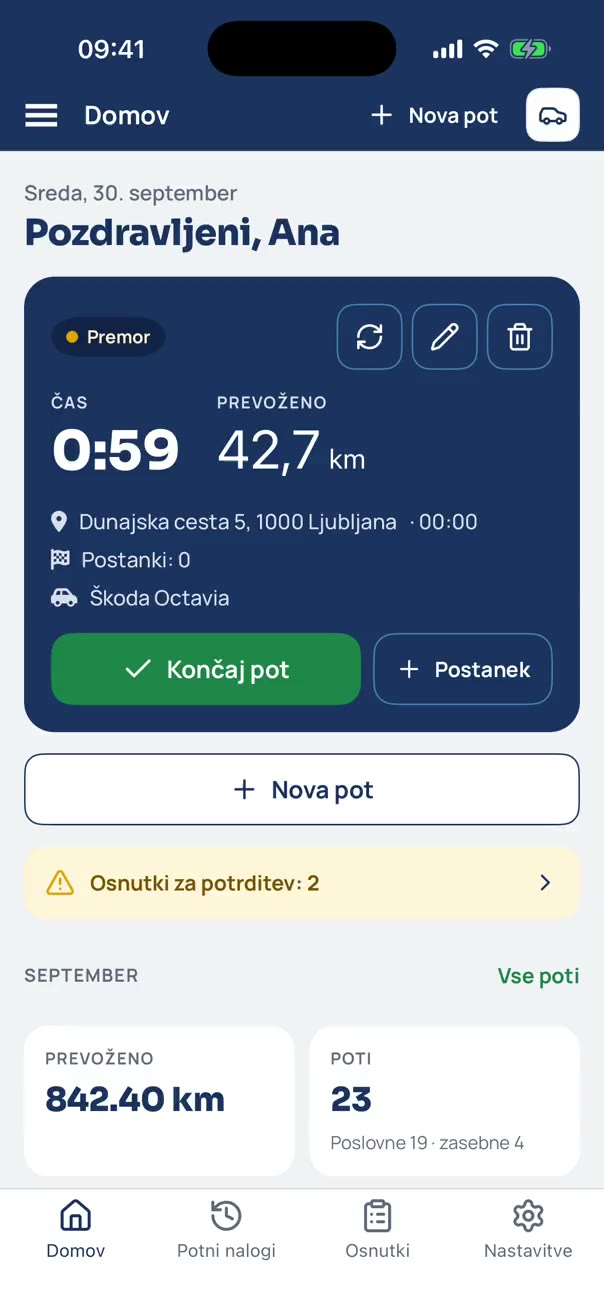
How to add a stop
Adding a stop to the active trip in eDriver: address, date and time – in three steps. Stops appear in the trip timeline.
4 · 4 steps
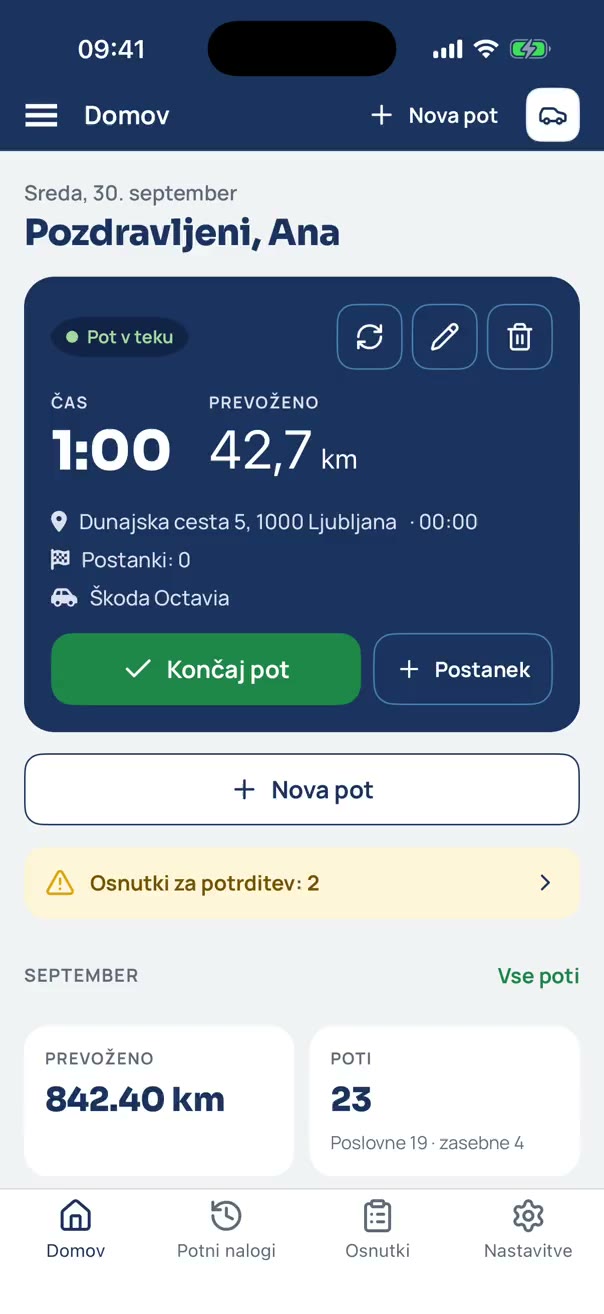
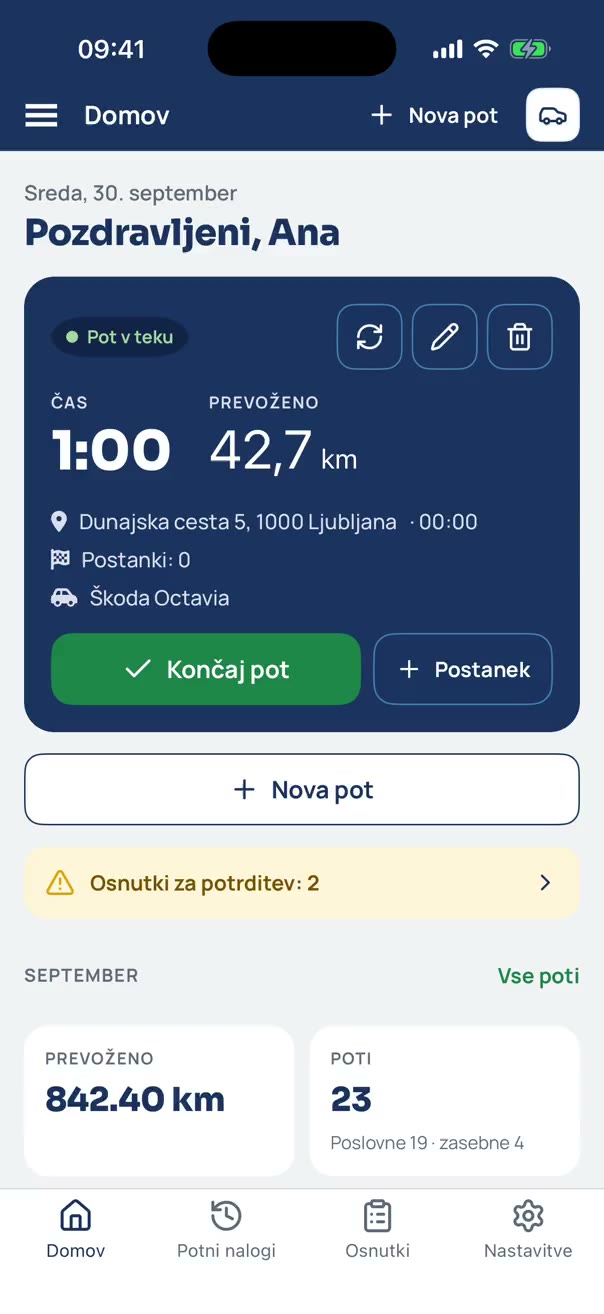
How to confirm a draft
Trips the eDriver app detects automatically are saved as drafts. How to review them and confirm each one with one tap, in four steps with screenshots.
5 · 4 steps
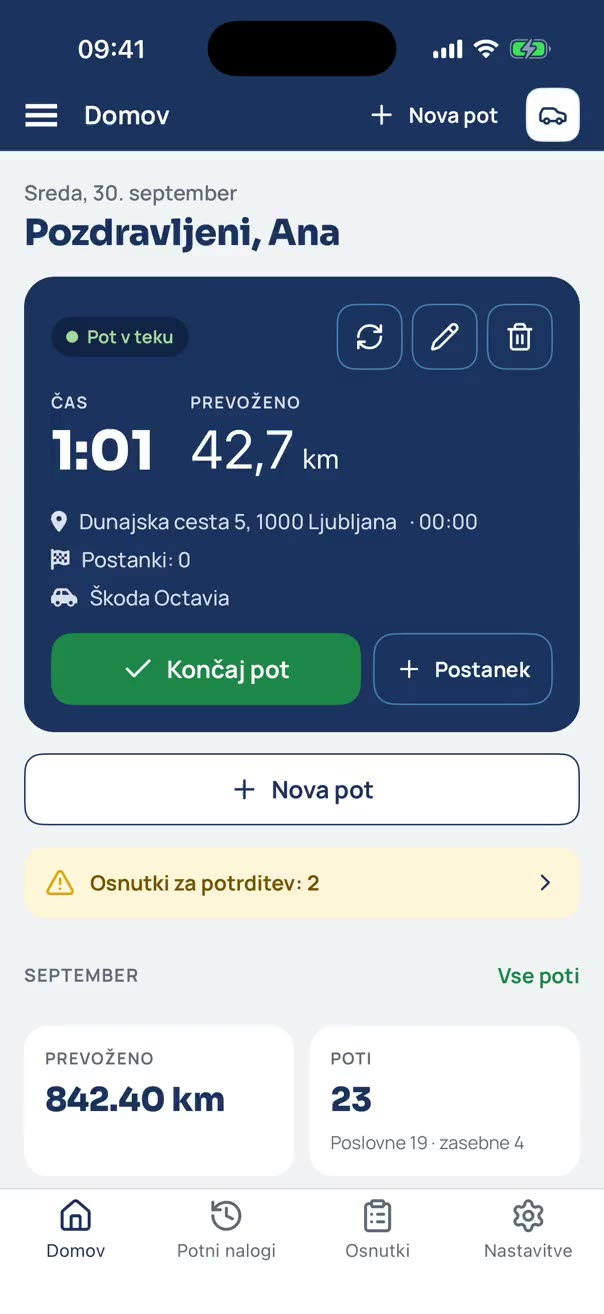
How to add expenses and receipts
Attaching a receipt or expense to a trip in eDriver: receipt photo, expense type, country and amount – in four steps.
6 · 3 steps
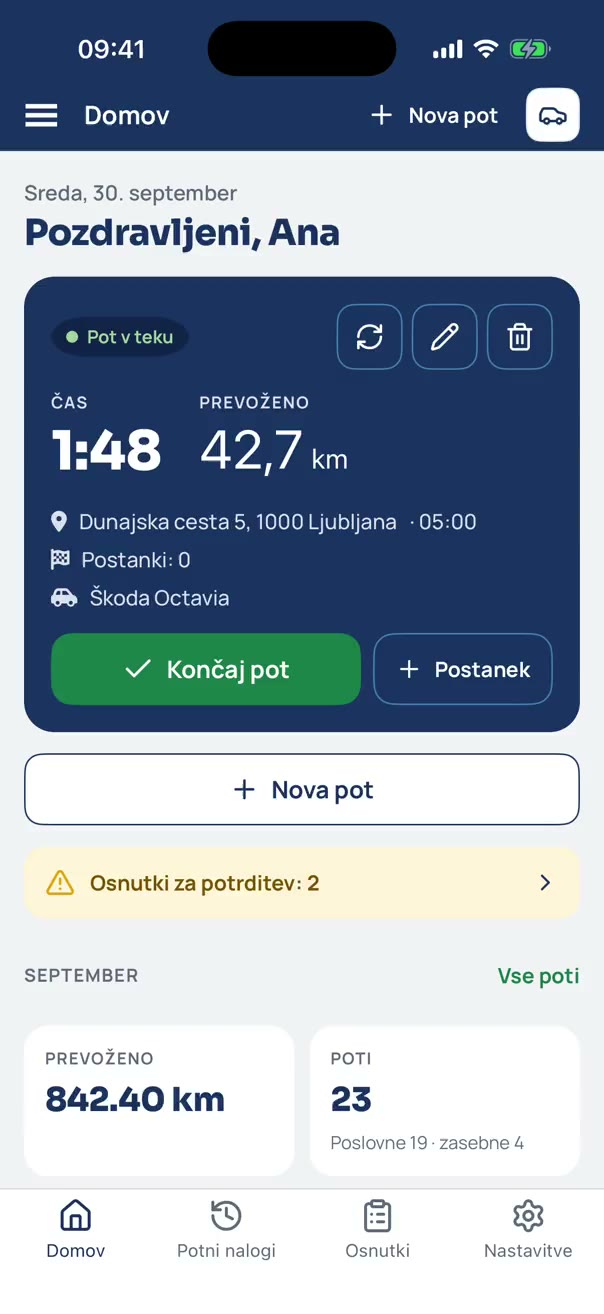
How to export travel orders
The monthly travel-order export from eDriver: pick the period and download it or send it to your accountant – in three steps.
7 · 3 steps
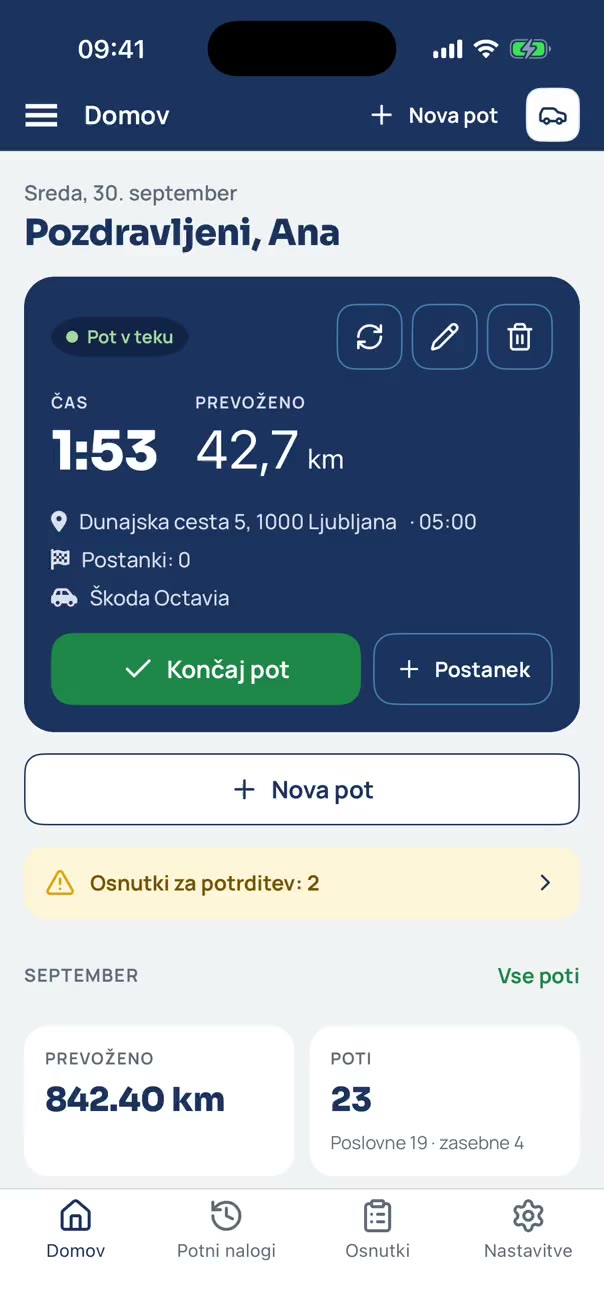
How to add a vehicle
A new vehicle in eDriver: name, plate, type, level and odometer – in three steps. The selected vehicle is used for new trips.
8 · 4 steps
How to save an address
Saved addresses in eDriver (office, customers, warehouse): address, name and default trip purpose – in four steps.
9 · 4 steps
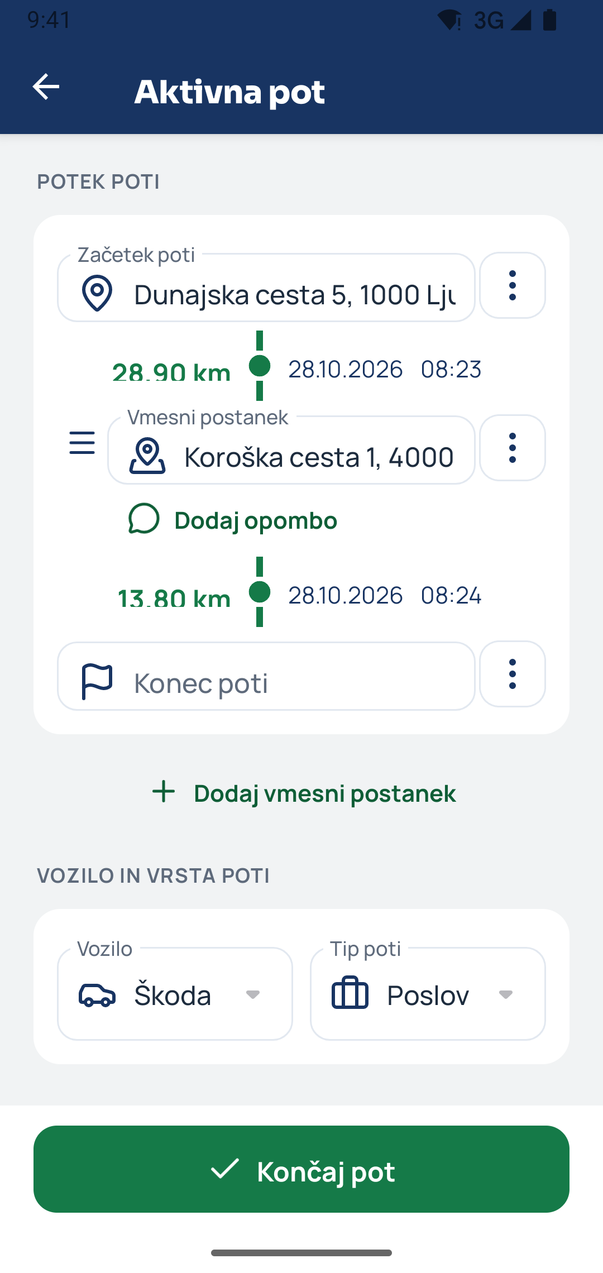
How to add a note to a stop
A note on a stop in eDriver: add it during the trip or later on a completed travel order. The note is also printed next to the stop in the Excel export.
10 · 3 steps
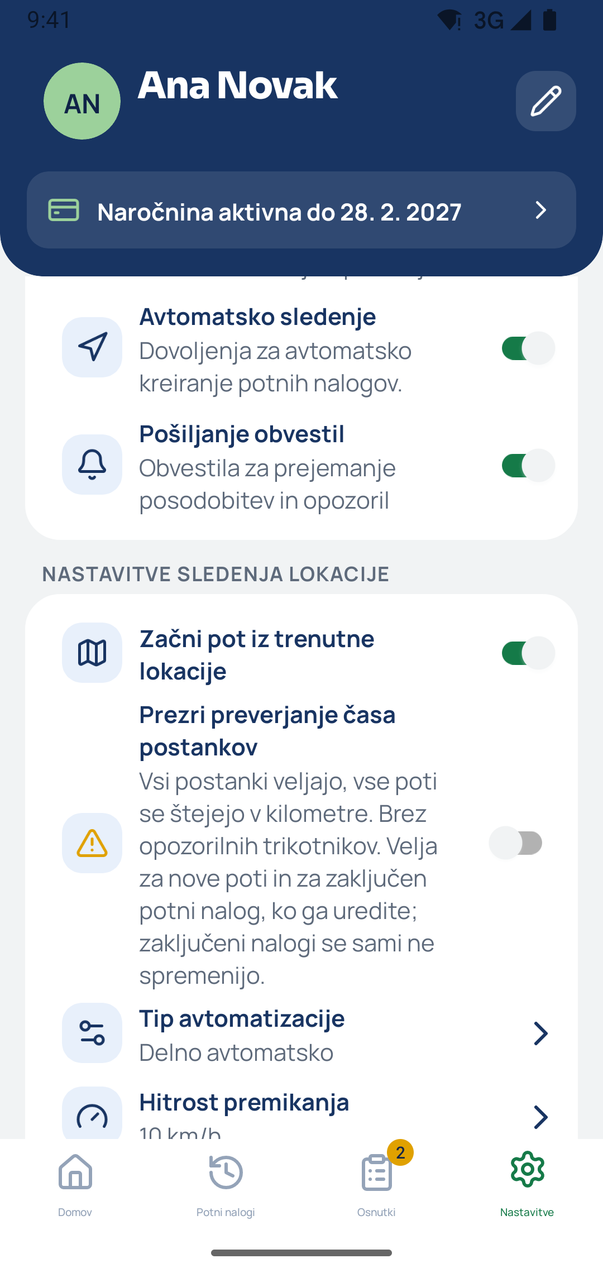
How to ignore the stop time check
The Ignore the stop time check setting in eDriver: every stop counts as valid, every leg is added to the km and there are no warning triangles.